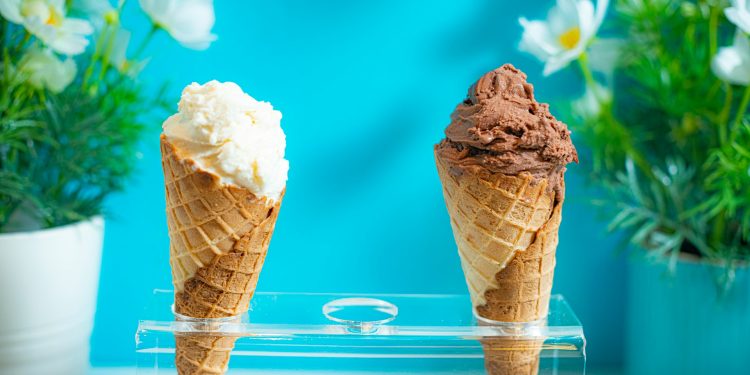
Beat the heat with our best recipe of Snow Cone. Wondering how to make perfect Snow Cones at home? We’ve got the best recipe on how to make the best Snow Cone along with a delicious syrup recipe . Make your summers cooler and brighter with our DIY snow cones at home.
Snow Cone
A snow cone is a frozen dessert made from finely shaved ice, typically served in a paper cone or cup. It's often flavored with syrup, juice, or other sweeteners, and it's a popular treat, especially during hot weather. Snow cones come in various flavors and can be customized with toppings like whipped cream or fruit slices.
Things Required for Making Snow Cone
- Snow cone machine or blender
- Good amount if ice
- Straws
- Cone shaped cups
- Flavours for snow cone
- Elevate your shaved offerings with a variety of toppings such as marshmallow cream, toasted coconut, or fruit slices. Toppings add an extra layer of flavor and visual appeal to your shaved ice, enticing customers to try new combinations.
Preparation Time
- Prep Time:5 mins
- Cook Time:15 mins
- Total Time:20 mins
Snow Cone Syrup Recipe
You need only three ingredients to make this Homemade Snow Cone Syrup- water, sugar, and flavored drink mix. Flavors which will taste like heaven in a snow cone are Cherry, Grape, Berry Blue, and Peach Mango.
- In a small saucepan, bring sugar and water to a boil; simmer until the sugar is dissolved, 3 minutes.
- Stir in the drink mix until well combined.
- Remove from the heat and let cool completely.
- Transfer syrup to a container for pouring.
- To serve, pour the desired amount of syrup over shaved ice to flavor.
- Additionally, you can use powdered drink mixes like Kool-Aid to make quick and easy snow cone syrups. Simply mix the powdered Kool-Aid with water and sugar according to the instructions on the packet to create vibrant and flavorful syrups for your snow cones.
How to Make Snow Cone at Home :
Snow Cone Machine
Snow cone machine helps shave the ice with its blades which helps ice to get converted into snow. It comes with ice molds. You can use that or else you can freeze some water in your ice cubes tray.
- Put the ice into the ice compartment of your Snow Cone Machine.
- Switch the machine on, and put some pressure to push the ice .
- Put your snow into a cup
- Pour your favorite syrup
- Add your spoon straw and you are good to go.
Without Snow Cone Machine (Blender)
- Put the ice in your normal regular blender.
- Make sure to blend until the ice becomes extra fine.
- Remove the ice from your blender
- Scoop the ice into your cup
- Drizzle flavors on it
Without Blender
- If you don’t have a blender either, you can always go old school. Place the ice in a Ziploc bag (and then put it in another Ziploc bag just to be on the safe side). Put it on a tray, like a cookie sheet with a rim, to catch any leaks.
- Use a meat mallet to crush the ice, or go over it with a rolling pin
Tips for Perfect Snow Cones:
- Use Quality Ice: The quality of the ice will greatly affect the texture of your snow cones. Use filtered water to make clear ice cubes for the best results.
- Sweeten the Ice: If you like sweeter snow cones, consider adding a simple syrup or flavored syrup directly to the ice before serving.
- Layer Flavors: For a more exciting snow cone experience, layer different flavored syrups on top of the shaved ice.
- Serve Immediately: Snow cones are best enjoyed immediately after preparation to prevent the ice from melting and becoming watery.
- Get Creative with Toppings: Experiment with toppings like whipped cream, fruit slices, or even gummy bears to enhance the flavor and presentation of your snow cones.
- Storage: If you have leftover shaved ice, store it in a freezer-safe container to prevent it from melting. You can re-shave the ice when ready to serve again.
- Presentation: Get creative with your presentation by using colorful cups, paper cones, or even hollowed-out fruit shells to serve your snow cones. Adding a fun umbrella or colorful straw can also enhance the visual appeal.
Flavor Ideas:
- Classic Favorites: Traditional snow cone flavors include cherry, grape, blue raspberry, and lemon-lime. You can recreate these classic flavors at home using extracts or food coloring.
- Tropical Twists: Experiment with tropical fruit flavors like pineapple, mango, passion fruit, or coconut for a refreshing island-inspired treat.
- Herbal Infusions: Infuse your syrups with fresh herbs like mint, basil, or lavender for a unique and aromatic twist.
- Spiced Syrups: Add a kick of flavor with spiced syrups like cinnamon, ginger, or chili-infused syrups for an unexpected twist.
How Much Ice for One Snow Cone?
Two cups of the pellet ice cubes from our ice machine makes 1 3/4 cups of crushed ice. The amount of ice you need will depend on the size of your cones (or cups) and how much you pack the ice. We found that 1 3/4 cups was enough to make one 6 oz snow cone.
How Do You Make Homemade Snow Cones?
To make homemade snow cones, crush ice into tiny pieces, scoop it into paper cones (or use cups or bowls), and drizzle with flavored syrup. Top with more crushed ice and more syrup. Add sprinkles or small candies to the top as an added bonus then serve!
Nutrition
Serving: 2tablespoonsCalories: 72kcalCarbohydrates: 19gFat: 0.1gSodium: 1mgPotassium: 0.5mgSugar: 19gVitamin A: 0.01IUVitamin C: 0.03mgCalcium: 1mgIron: 0.01mg
Conclusion
“Indulge in icy delights with homemade snow cones—refreshing, colorful, and endlessly customizable for summer sweetness.” Try playing with flavours for better taste. Enjoy and serve Snow Cones .


